Mastering Electrical Soldering
A Comprehensive Guide for Precision and Reliability


Electrical soldering is not just a basic skill; it's an art that requires precision and attention to detail. Whether you're a beginner venturing into the world of electronics or a seasoned enthusiast looking to refine your techniques, this comprehensive guide will take you through the intricacies of mastering electrical soldering.
1. Selecting the Right Tools:
The foundation of successful soldering lies in having the right tools. Invest in a quality soldering iron with adjustable temperature settings. While a quality solder station from Weller can set you back, if you use it often you won't be disappointed with the purchase. Different projects may require various tip shapes, so consider having a variety of tips on hand as well. Additionally, choose a high-quality solder wire with a flux core to help ensure a clean and efficient soldering process.
2. Understanding Solder:
Solder is not just a metal alloy; it's a crucial element in achieving reliable electrical connections. Familiarize yourself with the different types of solder available, such as lead-based and lead-free options, flux-core, acid flux-core, and more. Understanding their melting points, flow characteristics, and compatibility with various materials will help you achieve better connections.
3. Proper Workspace Setup:
Create an organized and well-ventilated workspace. Adequate lighting is essential for precision. Consider using a fume extractor or working near an open window to ensure proper ventilation, especially when using lead-based solder. A stable work surface with a heat-resistant mat provides a secure foundation for your soldering projects.
4. Applying Flux:
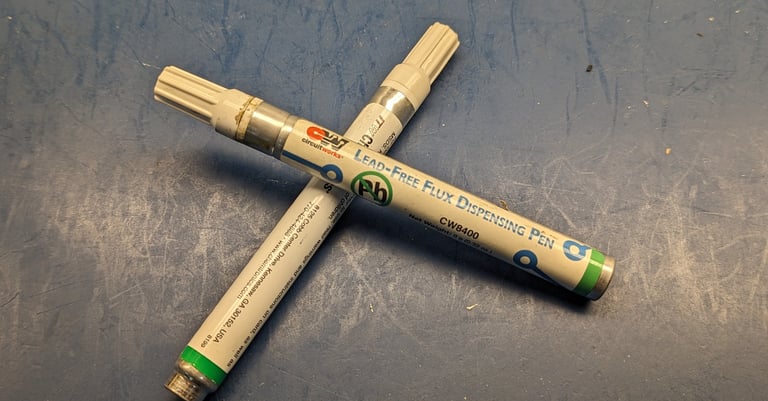
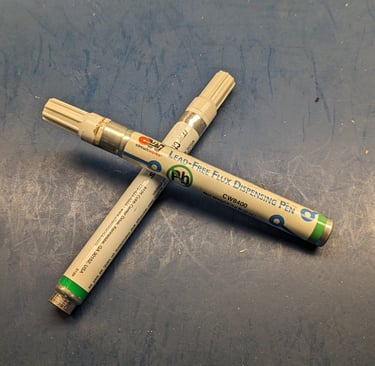
Flux is a vital component in the soldering process, facilitating the flow of solder and preventing oxidation. Apply flux to the joint using a flux pen or a small brush. Choose a flux that matches the type of solder you're using. I personally like the Kester flux pens (83-1000-0951) that can be found on Digi-Key and other sites.
5. Tinning:
Tinning involves coating the wires or components with a thin layer of solder before joining them. All to often I've watched beginners try to solder a piece of wire to a joint and not pre-tin the wire and ask why the solder won't flow. Pre-tinning not only aids in the soldering process but also helps create a strong and reliable connection. To achieve this, first take some solder and feed it onto the tip. Then take the tip and heat the surfaces with the soldering iron. Then add more solder to the material, evenly coating the exposed areas.
6. Temperature Setting:
Iron temperature also plays a crucial role in a successful joint. Many times the steps above are not followed and the thought is, "I need more heat". Using excessive heat not only can damage sensitive components, but it burns the flux and compromises the solder. You also run the risk of ruining your tip, which makes future work harder. For most smaller tasks, you won't need the iron temperature above 650F.
6. Perfecting the Solder Joint:
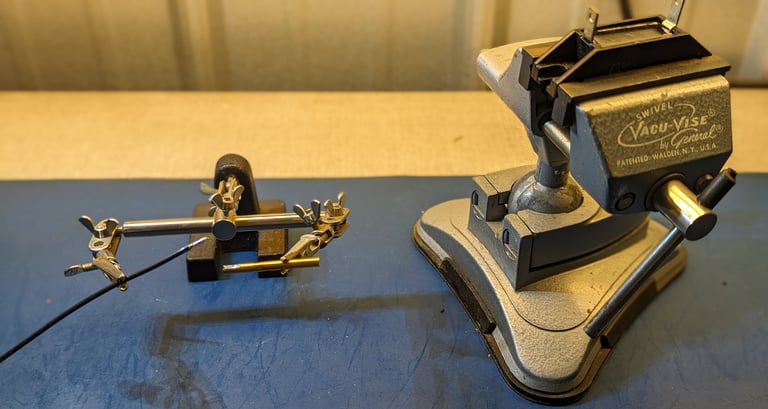
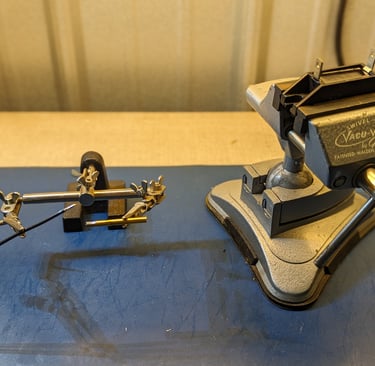
The key to a successful solder joint lies in precision and control. Heat the joint with the correct temperature evenly, allowing the solder to flow smoothly and create a solid bond. As mentioned, avoid excessive heat as it can lead to overheating and damage sensitive components. A magnifying glass or helping hands tool can assist in achieving meticulous results.
7. Post-Soldering Steps:
After completing the solder joint, allow it to cool naturally. Inspect the connection closely, ensuring there are no cracks, irregularities, or cold joints. Trim excess solder carefully with wire cutters and insulate the joint using heat shrink tubing or electrical tape.
8. Practice Makes Perfect:
Soldering is a skill that improves with practice. Challenge yourself with diverse projects to enhance your proficiency. Stay updated on new soldering techniques, materials, and tools to continually refine your craft. In the video below, we go through a few examples...
Conclusion:
By delving into the details of tool selection, solder types, and advanced techniques, this guide provides a robust foundation for mastering electrical soldering. Remember, practice and a commitment to precision will elevate your soldering skills to new heights.